Canon cameras are very popular and often have features that make it easy to take pictures and videos. However, if you want to get pictures or videos off of your camera and onto your computer, there are a few different ways to do it.
One way is to connect your camera to your computer via a USB cable. Once your camera is connected, you can access the pictures and videos that are stored on the camera by opening the camera’s file manager and browsing to the “DCIM” folder.
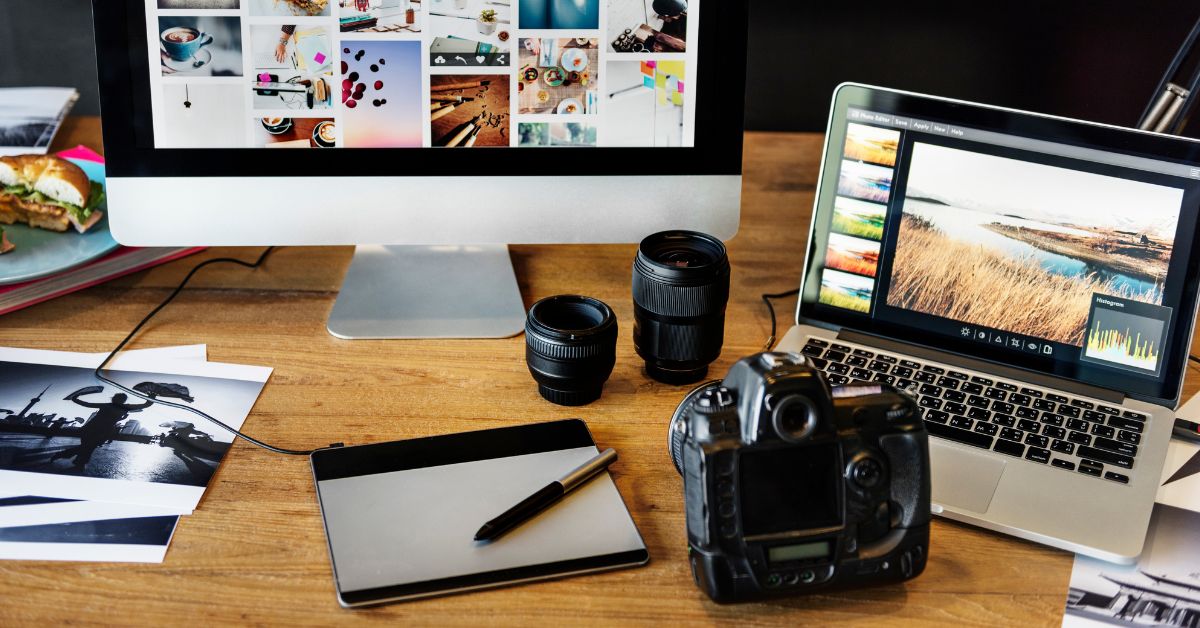
Another way to get pictures and videos off of your camera is to use a photo editor, such as Windows Photo Viewer, to import the pictures and videos directly into your computer.
Another way to
Contents
- The Quickest Way to Transfer Pics and Video from Camera to Computer
- Connect your Canon camera to your computer.
- On your computer, open up the Canon camera software.
- Select the pictures you want to download.
- Click the “Download” button.
- Choose where you want to save the downloaded pictures.
- Click “OK” to start the download.
- Conclusion
The Quickest Way to Transfer Pics and Video from Camera to Computer
[ytvideo]
Connect your Canon camera to your computer.
- Make sure your Canon camera is properly connected to your computer
- Open Canon Camera Connect
- In the Canon Camera Connect window, select your Canon camera from the list and click on the button with the picture of a white dot
- On the next window, click on the button with the picture of a black arrow
- In the window that opens, click on the button with the picture of a disk
- Click on the folder icon in the window that opens
- On the next window, select the pictures you want to download
- Click on the blue button with the picture of a arrow
- The pictures will be downloaded to your computer
10. If you have any questions, please feel free to contact us at [email protected]
On your computer, open up the Canon camera software.
On the camera screen, tap the Menu ( ) icon and then tap the Film Shooting Settings icon.
Under the Image Management category, tap the Upload Pictures To Computer option.
On the Upload Pictures To Computer screen, enter the path and filename of the folder on your computer where you want the pictures to be saved.
Tap the Save button to save the changes to the camera.
Select the pictures you want to download.
- Plug in your Canon camera to your computer using the supplied USB cable
- Click on the ‘My Computer’ icon on your desktop
- Double-click on the ‘Pictures’ folder
- Find the pictures you want to download and click on them
- The pictures will be copied to your computer
- To view the pictures on your computer, open a photo editor such as Photoshop or GIMP and save the pictures to your hard drive
A new window will open on your computer where you can download all of the pictures from your Canon camera. You will be able to see all of the pictures on the camera in a folder on your computer. You can also see the names of the pictures and the date and time that they were taken.
Choose where you want to save the downloaded pictures.
First, you will need to connect your camera to your computer. This can be done by either using a USB cable or by using the Canon Camera Connect software.
Once your camera is connected, you will need to open the Canon Camera Connect software.
On the main screen of the software, you will see a list of folders. The first folder that you will want to check is the “Pictures” folder.
Inside of the “Pictures” folder, you will see a sub-folder called “SD Memory Card.”
The next thing that you will want to do is to click on the “SD Memory Card” folder.
Inside of the “SD Memory Card” folder, you will see a list of pictures.
You will need to select the pictures that you want to download.
Once you have selected the pictures, you will need to click on the “Download Pictures” button.
The next thing that you will need to do is to choose where you want to save the downloaded pictures.
You can either choose to save the pictures to your computer’s hard drive, or you can choose to save the pictures to a USB flash drive.
Once you have chosen where to save the downloaded pictures, you will need to click on the “Download Pictures” button.
The next thing that you will need to do is to wait for the download to finish.
Once the download has
Click “OK” to start the download.
Once the download is complete, you should find a folder on your computer named Canon_Pictures.
If you don’t see the Canon_Pictures folder, you may have to search for it on your computer.
The first time you download pictures from your camera to your computer, you’ll need to install Canon USB Driver.
To install the Canon USB Driver, follow these steps:
1. On your computer, open Windows Explorer.
2. In Windows Explorer, locate the Canon_Pictures folder.
3. Double-click the Canon_Pictures folder.
4. Click the Install Canon Driver button.
5. Click the Next button.
6. Click the Finish button.
After the installation is complete, you’ll be able to use the Canon USB Driver to download pictures from your camera to your computer.
Conclusion
There are a few different ways to download pictures from a Canon camera to a computer. One way is to connect the camera to the computer with a USB cable. The other way is to use a Canon software program, such as Canon DCP Pro or Canon Easy Transfer.