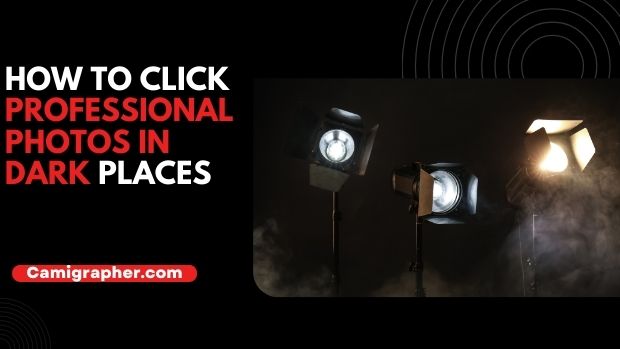
“How To Click Professional Photos In Dark Places”. So you’ve taken some great photos in a dark place, but now you’re faced with the task of turning them into polished and professional-looking images.
Fear not – this guide will show you how to take great photos even in the dark!
Contents
What you need
You need a tripod and a good light. You also need to be aware of your surroundings and what is behind you when you are clicking photos.
How to do it
- Set up your tripod and attach your camera to it. Make sure the camera is pointed in the same direction as the light.
- Turn on your light and wait for it to start shining down on your subject.
- Click photos as quickly as possible while keeping your eyes peeled for any potential obstacles or surprises that may be lurking behind you.
How To Click Professional Photos In Dark Places
How often do you find yourself needing to take a picture in a dark place? Unfortunately, not many camera options are available for users when they are in a dark environment. However, with the right techniques and equipment, you can still snap a great picture.
One way to take pictures in a dark place is by using a flashlight. A flashlight will illuminate your scene and make taking pictures much easier. However, if you don’t have a flashlight available or if it’s too bright, you can also use your phone as a light source.
Just turn on the brightness level to maximum and point the camera at what you want to photograph. This method is not ideal because it creates shadows and makes it difficult to focus on your subject.
Another option is to use an artificial light source. This can be something like a headlamp or camping lantern. Just make sure that the light is directed away from your subject so that it doesn’t create shadows.
You can also use this type of light to create interesting effects for your photos. For example, you could use it to highlight elements of your scene or create dramatic lighting effects.
If all else fails, you can always turn to a camera with a built-in flash. This will help you take pictures in a dark environment, but it can be less than ideal because the light is harsh and can create glare.
Tips for Editing Photos in a Dark Place
If you’re like most photographers, you probably take a lot of photos in dark places. But if your photos are looking a little too dark and grainy, there are a few tips you can follow to get them looking their best.
First, make sure your camera is set to the right ISO. If your photos are looking grainy, try setting your camera to a higher ISO to get a cleaner image. If your photos still look too dark and grainy, try using a lightening or exposure adjustment software like Photoshop or Lightroom to brighten up the image.
Another trick is to use a tripod if possible. This will help eliminate any shaking caused by your hands. And finally, make sure to clean your lens regularly! Dust and other particles can cause photos taken in dark places to look cloudy and grainy.
Understanding the Exposure Triangle
Understanding the Exposure Triangle is essential to clicking professional photos in dark places. This triangle consists of three main components: aperture, ISO, and shutter speed.
Aperture controls the amount of light that enters the camera. Aperture can be set between f/1.4 and f/16. By adjusting the aperture, you can control how much light enters the camera and affects your subject’s exposure.
ISO is a sensor sensitivity that’s commonly used for digital cameras to determine how much noise will be created in your photo when taking a picture. The higher the ISO, the more noise will be present in your photo; however, this can also result in a faster shutter speed.
Shutter speed controls how long the shutter is open for capturing an image. A fast shutter speed may freeze the action and create a blurred image, while a slow shutter speed may produce a blurry image due to motion blur.
Understanding these three components will help you take great photos in any situation.
Setting the Exposure
If you want to take great photos in dark places, there are a few things you need to do. First, make sure your exposure is correct. Next, use a tripod or a stable hand to hold the camera still.
And finally, use a background that won’t cast too much light on your subject. Here are four tips for taking professional photos in dark places:
- Set the exposure correctly. Use the camera’s manual exposure features if possible, or set it to one of the scene modes (Portrait, Landscape, Close-Up). If you don’t have manual exposure options, try to adjust the shutter speed and/or ISO setting as needed.The ideal shutter speed for taking photos in dark places is 1/30th of a second or slower. The higher the ISO setting, the more noise will be produced in your photo; however, if you’re using a tripod and a low ISO setting, you can reduce noise by increasing the sensitivity setting before shooting.
- Use a tripod or stable hand. A tripod or other stable object will help prevent your subject from moving and will result in sharper photos because it stabilizes the camera movement. Place the camera on top of the tripod, or hold it steady with one hand while shooting with the other.
- Use a light background. If possible, use a light background to reduce the amount of light that is cast on your subject. You can also use a flash to take photos in dark places, but be sure to test the settings first to make sure they will create the desired effect.
- Shoot in RAW format. RAW (.DNG) files allow you to adjust exposure and color settings after you’ve taken the photo; this is particularly useful if you’re using a light background or if your subject is bright.
Enhancing Images with Post-Processing
Professional photos can often be a little too bright and colorful for use in dark places. Certain post-processing techniques can help to tone down the light while still keeping the image looking professional. Here are five tips for enhancing photos in dark places:
- Use a black and white conversion filter. This will help to reduce the brightness of the image while also giving it a more vintage look.
- add noise to the image using an app like Photoshop or Gimp. This will add grainy texture and create a more realistic look.
- Try using a sepia color tone to create a more subdued look.
- Use selective color adjustments to make specific colors pop out more. This can be helpful when trying to create a particular mood or style for an image.
- Use Photo Editor plugins like VSCO Cam or Adobe Photoshop Lightroom to add additional effects and enhancements to your images.
Understanding White Balance
Understanding white balance is important when clicking photos in dark places. Photos can look unnatural if you don’t properly set the white balance. There are a few different ways to set white balance, but the simplest is to use a light meter.
To set your camera’s white balance, first, choose a light source. Next, use the camera’s menu to select “white balance.” You’ll see a screen like the one shown in the image below.
There are three main settings: daylight, tungsten, and fluorescent. Daylight is best for cloudy days or early morning shots, tungsten is for middle-of-the-day sunlight, and fluorescent is good for late afternoon or evening shots. You can also choose Auto White Balance (AWB). This will automatically set the white balance based on the scene.
To take a photo with proper white balance, aim your camera at the light source and press the shutter button halfway down to take a picture of the light. The camera will then calculate how bright that light is and set the white balance accordingly.
Conclusion
If you’re like most people, clicking photos in dark places is a hassle. You have to use your phone’s flash, which often results in unsatisfactory shots and makes you look like a tourist.
Fortunately, there are several tricks that will help make clicking professional photos in the dark much easier.
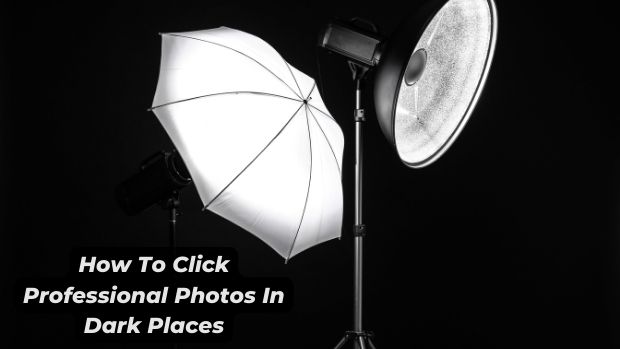
First and foremost, get yourself a good light source—a set of studio lights or an overhead light can do the trick.
Second, practice taking pictures in lowlight conditions—this will help you take better shots even when the lighting isn’t ideal.
Lastly, be patient—sometimes it takes some trial and error to find the perfect settings for shooting in dark places. With these tips in mind, mastering the art of photography in the dark should become much less difficult!
Thanks for reading! Stay tuned for new updates…camigrapher.com